Hello Crafty Peeps!!!!
I found the stamps very beautiful and gives crisp impression at first go. Thumps up to awesome quality of Tubby Craft stamps.
This is the most wonderful time of the year and and hence i have made a 3d interactive card for Christmas.
Here is the picture of the card:

For this card :
I took a card stock measuring 4"×12".
Then I scored straight lines at 2", 4", 8" and 10".
Score the lines diagonally and make 13 partitions on the card stock as shown in the video below:
Now, first adhere red card stock and then pattern paper over the red card stock.
To create multiple layers at the cube in centre, first die cut with scallop circle die.
Then, stamped the girl image with black archival ink on white card stock and coloured it with water colours.
Fussy cut the stamped image and arranged it with foam tape to give a 3d effect.
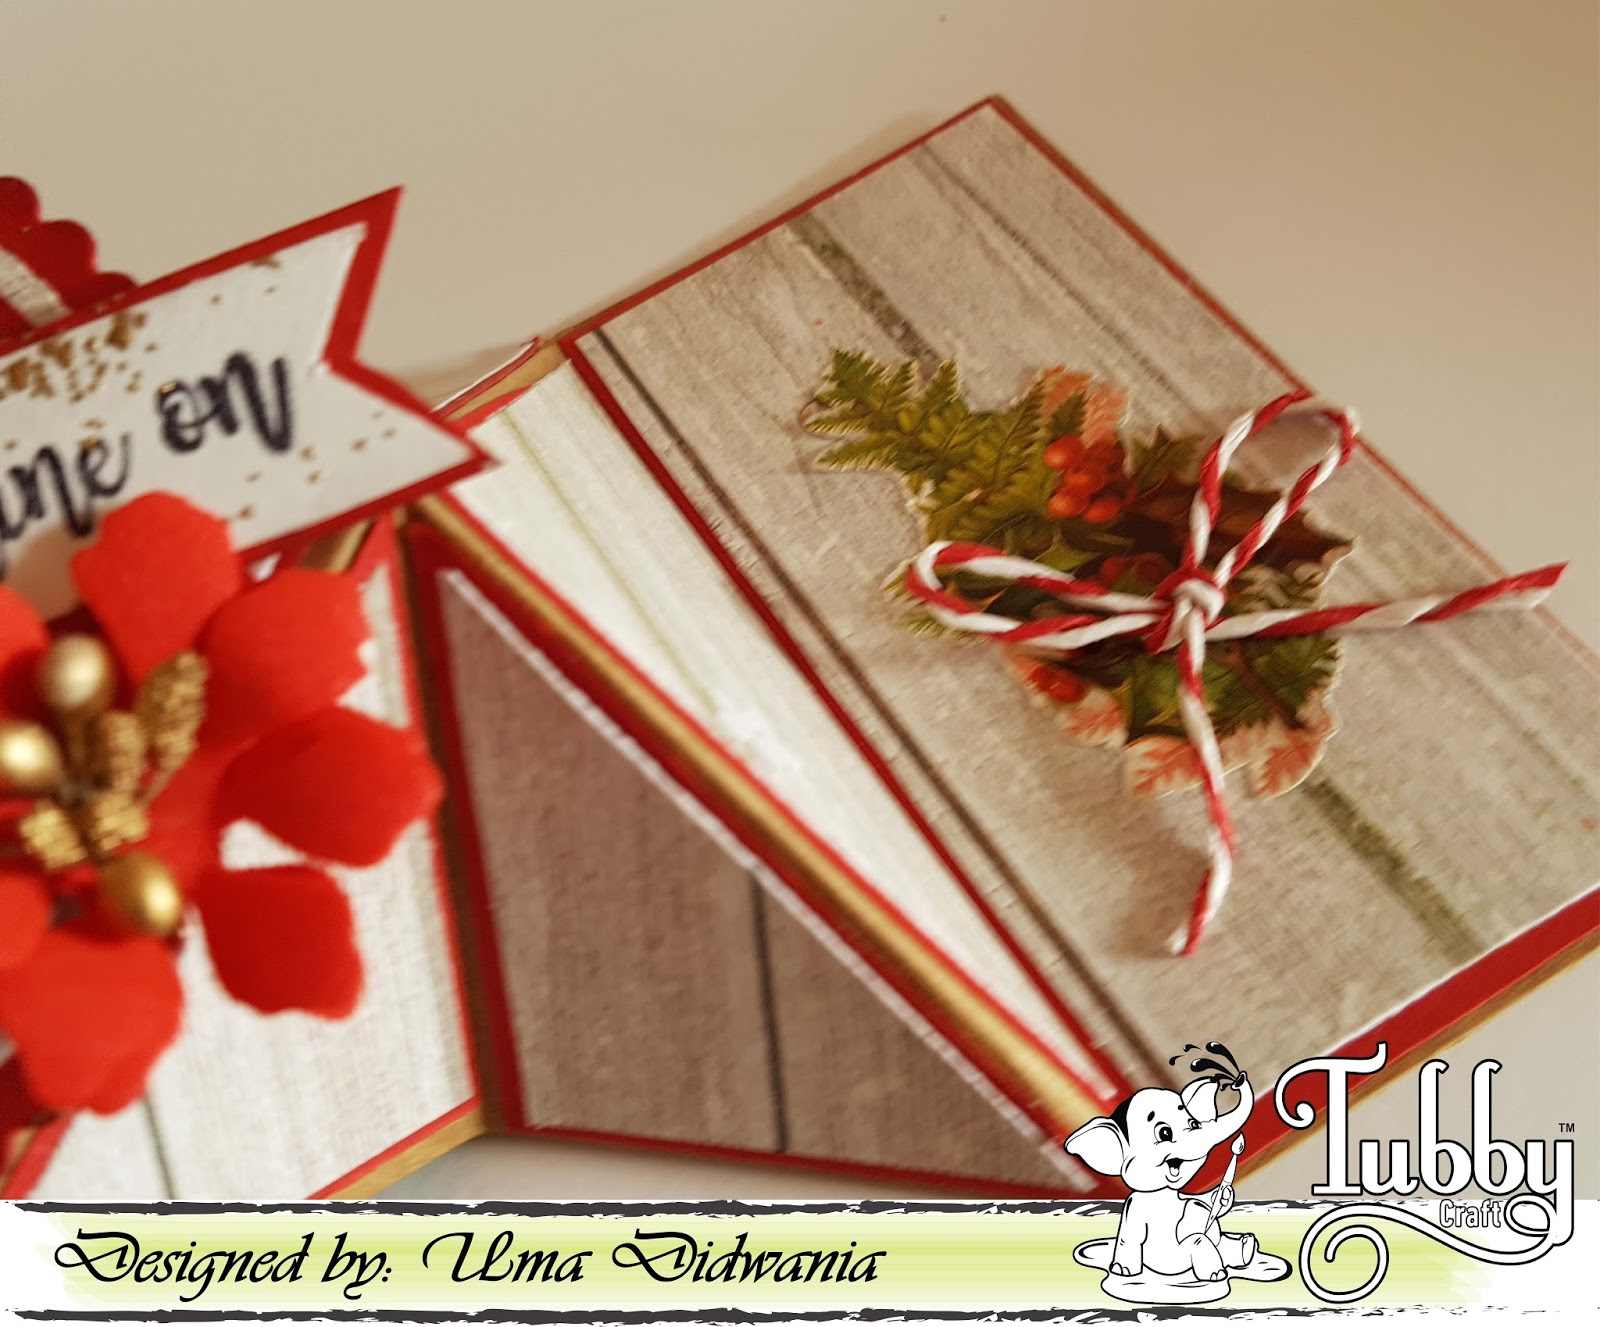
Fussy cut the wreath and tree image and pasted them on the card.
I stamped the sentiment with black archival ink on white card stock and used golden embossing powder to give shimmer effect around the sentiment.
Arranged the sentiment with handmade foamarin flower.


I am Uma here once again with a new card which I made for Tubby Craft using Shine On stamp set. Today i am guest designing for Tubby Craft. I am really thankful to Shruti for this opportunity.
I found the stamps very beautiful and gives crisp impression at first go. Thumps up to awesome quality of Tubby Craft stamps.
This is the most wonderful time of the year and and hence i have made a 3d interactive card for Christmas.
Here is the picture of the card:

For this card :
I took a card stock measuring 4"×12".
Then I scored straight lines at 2", 4", 8" and 10".
Score the lines diagonally and make 13 partitions on the card stock as shown in the video below:
Then, cut red card stock and pattern paper to create 13 panels.
Now, first adhere red card stock and then pattern paper over the red card stock.
I have cut 4 circular pieces of red card stock and pattern paper (2 each).
Then, stamped the girl image with black archival ink on white card stock and coloured it with water colours.
Fussy cut the stamped image and arranged it with foam tape to give a 3d effect.
Fussy cut the wreath and tree image and pasted them on the card.
I stamped the sentiment with black archival ink on white card stock and used golden embossing powder to give shimmer effect around the sentiment.
Arranged the sentiment with handmade foamarin flower.
More close up pictures:


Products used from the store:

Tubby craft stamps are now available at:
Nirmal Stationers, Delhi
See you soon and Merry Christmas in advance. Shine on wherever you go..
Hope you all like it!
Thanks for visiting!
Uma Didwania
Comments
Post a Comment